Showing posts with label 5 Card Kit Club cards. Show all posts

Wednesday, September 22, 2021

5 NEW Cards using the September “Happy Hoiiday” 2021 Card Kit

 Its’s Time for the “5 cards” using The Stamps of Life Card Club Kit

Today I will be posting 5 New cards using the Happy Holiday’s  September  2021 Stamps of Life Card Kit.  This kit goes with the September Hollywreath2stamp  & die club set.  In the Card Kit you receive everything you need to make at least 10 cards but I have made more than 12 before using one kit.  What do you get?  C/S, a 6 “x 6” Patterned Paper Pad, (12) A2 envelopes,  embellishments, stamps that go with that months stamp and die club, and more.  Below I will be posting 5 cards I made using the kit.  AND  “How I made this” card instructions. 

To see this kit you can find it here: https://thestampsoflife.com/

Link to my Instagram : https://instagram.com/Creating_Blessings/

Card #1 

A2 size card 4 1/4” x 5 1/2”  (folded)


Read all the way thru before starting. 
To make this fold-it I cut all my pieces for the fold-it first & then I  started decorating the pieces.  I first did my stenciling on my roof and house front.  Then I made ALL the pieces listed below and set them aside and when I finished I started assembling the front of my housE.  It was really Easy to put together when all the pieces are already done.  Use ur kiss cut pad if you want to.  

To make the door & window:  cut 6 windows…glue 2 windows together at the center then layer the other 4 on top of each other (if you want dimension).  To make the door.  I traced the shadow die to the door on a piece of powdered sugar cardstock.  Then I took a small circle die and matched that circle to the top of the door piece.  If you want it like mine trace it so the corners line up with the circle.    Then cut it out-this makes you a mold to keep for the next one so you can make whatever color door you want. I then cut out a small wreath for the door and the top front of the house from the New Holiday Wishes paper pad.   I used the small wreaths on the Holiday Wishes c/s.  The Tree is made using the tree die from the Truck Fold-it.  I used the tiny bows to decorate the tree along with the mini lites from the Reindeer2stamp. The house lights are from Holly4Christmasstamps.  Tiny hollys are in the Holiday Wishes paper pad.  The Snowflakes are from the Snowflakes background die set. I used the plaid stencil with candy c/s and ink and the grid stencil with mint chip c/s and ink.  Colors are spearmint, strawberry, banana, gingersnap, mint chip, & candy.  I used the 3’d gel pens around the door in pink and white.  Let them dry and colored the white with the red CC alcohol ink.  I used the Spectrum Noir Sparkle cleat pens on the window and snowflakes along with the *3’d ink pens. -see my tip on my 3 ‘d ink pens
Super Easy card and a fun card to make. (Just has A lot of little pieces) 
Enjoy 


*****

Card #2   A2 size card folded

Making this card was Super fast and easy.  You will basically used only things from the card kit.  
Let’s get started:

Using the Holiday Wishes Paper pad I die cut the bow & the wreath from the already colored designs in the paper pad.  I then used my 3’d ink pens to decorate them and make them sparkly. Set aside…I put mine next to a small fan.  I now cut  out the background outlines ( I used white glitter paper) for the bow and the wreath. Use whatever color  you wanted use…I actually used white glitter paper for all the background papers.  I then used the Holiday Wishes dies that came in your kit and cut them out in Spearmint c/s and cut out the background in white glitter paper. I then glued the words to the white glitter paper background.  (set aside)
The Blue Jay cardstock measures (4 1/4” x 5 1/2”)  I stenciled with blue jay ink using the  plaid stencil. I the cut a scalloped frame using the the largest scalloped rectangle and the 2nd largest stitched rectangle together to make a frame to go on top of the plaid paper I made.  I just glued it down to secure it.  Then I added dimensional tape on the back of of my wreath, bow, and words and secured them on top of there background papers. It’s now time to put ur card together.  I put more dimensional tape onto the background paper of the wreath and the bow.   I measured the ribbon and secured it with double sided tape. Then put my wreath in place and added my bow. (I did add some wet glue on the tape so it secured)
Now add your words I did add more dimensional tape with wet glue and put it in place.  The last thing I did was add white 3’d ink pen around the scalloped border.  Set aside and let dry for at least 12 hours.  Decorate the inside and don’t forget to sign ur card.  Super fun and easy card. 
Enjoy


*****
Card #3
A2 size Shaker card 

I used the  #5 & 4 stitched rectangle dies for frame-but make whatever size frame you want.  You just want to have it go right up to the edge. If you want ur frame to be larger just adjust the larger size die. 


This shaker is so easy.  All you need (1) A2 card base, 1 piece of paper 4 1/4”x 5 1/4” to go on top of the A2 base.  (If you want some white edges to show like mine I made my cranberry paper a little smaller).  I took a piece of powder sugar card stock and 1 piece of paper from the paper pad measuring  4 1/8” x 5 1/8” (cut these 2 papers together so your cuts are exactly the same size)  using the rectangle dies (see above)  cut out the center.  Keep the white center paper.  Now cut a piece of acetate to attach to the bottom of the patterned paper.  I use double sided tape.  I then add it to my powdered sugar card so and the acetate is now in between the layers like a sandwich. Add dimensional tape to the underneath side and put some baby powder around the inside of the shaker so ur sequins don’t stick. Powder up the white piece of paper which will fit right in the window of your card. Gently put your sequins in and add the top piece to your card.  Add your frame & your words.  Decorate with 3’d ink pen the little trees, add a ribbon, a bow and some holly from the paper pad. This is a medium hard card.  But if you make everything and then just put it together it’s not that hard.  I love when I can use my dies to cut out the images in the paper pad. 

Enjoy

*****

Card #4  A2 size card (folded)

Holiday wishes card kit
Hollywreath2stamp set
Slimline panel’s snowflake dies
Snowman2stamp stamps and dies
Markers
Green glitter paper
Inks-cranberry, green apple, 
3’d ink pens (glittery one)
Embellishments (Kit)
Papers-powdered sugar and blue jay 
Ribbon (kit)


Make the slimline card as you normally would and use a blue jay for the background paper. 
Using the New stamps and dies in the kits- stamp and die cute the holly and berries. Use 3’d glitter ink to make it sparkle. After it dries put it together and set aside.  Using the snowman2stamp make a snowman-I cut out a wreath from the patterned paper cut it in the back and wrapped it around his neck and glued it in the back. His arms-to make them hold the word I cut off about 1/4” of his arms and glued it outward then glued the rest of his arm onto the bottom piece to make his arm folded inward to hold the sign. Easy peezy.  Stamp color and decorate using the 3 poinsettias-set aside to dry.   Stamp the words on Powdered Sugar c/s and then add dimensional tape and a backing paper if you want.  Add dimensional tape to back of the Powdered sugar words BUT not to the back of the word he is holding…that one gets glued down onto the snowman- and his arms get glued to the flat piece.  Add a small piece of ribbon to the front of the card at the bottom and add the 3 poinsettias. Add your snowman, holly w/berries, 2 words and embellishments.  Make yourself a bow to put at the bottoms of the snowman and start using ur 3’d ink pens to make it sparkly the way you want it.  
Super easy and fun card to make. 
Enjoy


*****

Card # 5 A2 side card


I will list the things you can make ahead and let dry then you can just add them to the card. 
My background paper is sky and seaglass blended 3/4 of the way down the paper. 

1- (1) Elf2stamp color him and add your sparkle to him & put a mini Christmas light in his hands from the kit. You will use 2 snowflakes from the other card for the elf to stand on 

2-The Christmas bulbs from you kit using a hole punch add some twine at the base and at the top and knot both ends…keep them all the same length.  Then decorate them if you want and let them dry.  They will be tied together for the card…so the Length is short maybe 1 1/2”after knotting.  

3-You will need 1 large stitched rectangle paper (mine is Powdered Sugar)  & for the bottom of ur frame to be added just before you secure your frame to the card.   Now to make your frames. I used a large stitched rectangle die and on die that fits inside that die to make a frame.  I used the 6th  largest die for the outside and paired it with the 4th largest die.  Then I made one more stitched rectangle frame.  This is the rectangle you will put on the inside bottom of the frame. I got the size by putting the dies up against the first frame. I wanted it to be small.  Then for the scalloped rectangle I lined up my dies to see which one left the tinyest  scalloped edge.  That’s how I made that edge. But you have to measure after you cut your frame. Then using dimensional tape you can put them all together and add them to ur card. *Remember to put the (1)rectangle down before you secure your frames down


After you attach the frames it’s time to decorate ur card.  The holly and berries in the corners are from the Patterned paper from the kit.  The little Christmas trees πŸŽ„ (I love them) are in the kit AND pull ur  heist as bulb strings together and attach them wherever you want the on the frame- I used double sided tape and a glue dot on the tape to adhere the bow.  Any extra decorating do now and dots with your 3’d ink pens.  
Hope you enjoyed my 5 Card Kit cards I made for you.  I truly enjoy sharing these fun cards with you.  Be sure to Follow me and get “how I did it” tips when they come out.  
Thanks for looking. 
Have a question-just ask I’ll always answer you πŸ’•
Cheryl 

To see the other DT Card videos and cards live you can find them below on September 22nd at 12AM 

Dania’s Doodles
 Here is the link to Dania’s youtube video. 


Chris DeLeon Lawlor

Stamps of Life September DT Card Kit Collaboration 5 Cards 1Kit

Here is the link to Chris’s YouTube video

Enjoy πŸ’•

Thursday, July 15, 2021

5 cards made using The Stamps of Life Card Kit Club July 2021

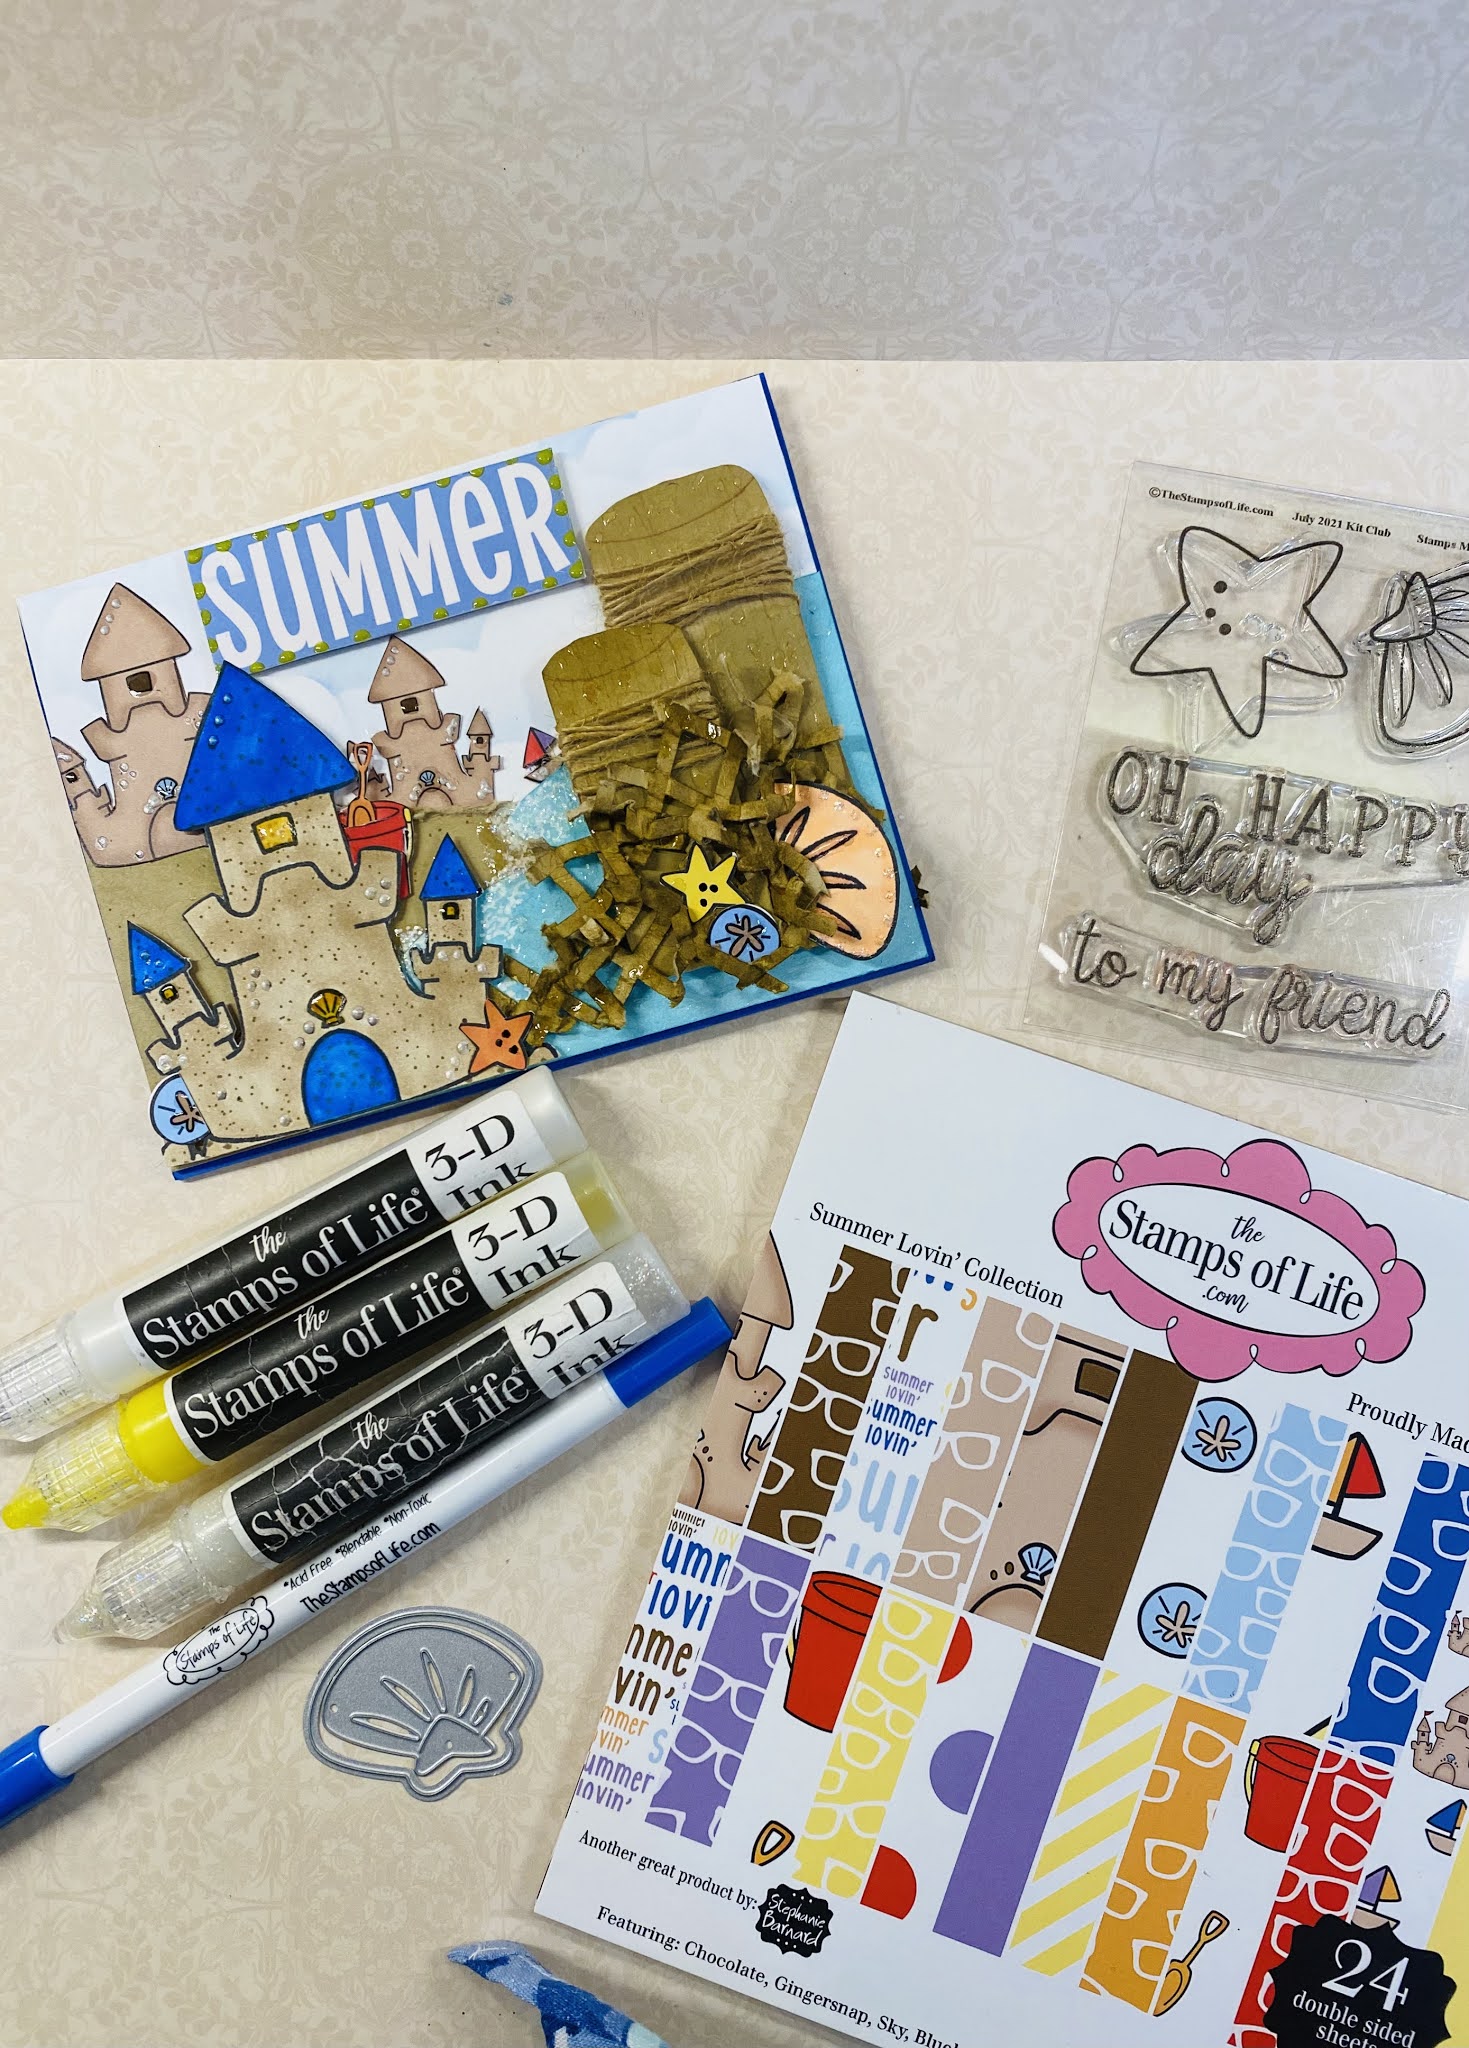
 The New TSOL Card Kit is here and The Stamps of Life DT has been busy making you cards using this Amazing New Kit.  Here are the 5 fun cards I have made for you. As you probably already know the Stamp and Die set for July was the Sandcastles2stamp  & dies.  Every month on the 15th, TSOL introduces the New Card Kit that goes along with the Stamp & die set.  This months set is called “Summer Lovin’”. And this one is Awesome. The link to check out The Stamps of Life is:  www.thestampsoflife.com 

Below is what I made and I then I will list how I made it…

Summer Lovin’ card A2 card 4 1/4” x 5 1/2”


This what I used:

A2 size card 4 1/4” x 5 1/2” 

Background paper us whichever ones you want they measure:

1- 1” x 5 1/4”

1-  3 3/8” x 5 1/4” glue p/tape these two pieces go together to make the background paper. Then use the ribbon and twine around the seams1- 1 1/8” x 4 3/8” paper.  I used my stitched rectangle for this paper.


I  then  cut the Summer Lovin’ words and sand castle. I used pop dots to pop up the layers. 

On the lemonade c/s I used the sunburst2stamp background stamp.


Summer Scene Card A2 size card


Base piece of c/s measures 4 1/4” x 5 1/2” Frame is the Scalloped rectangles the largest and next one down but u can make ur frame as large as you want. I made it into a shaker card using acetate the same size as the largest frame.  I decorated the top of the acetate and attached the frame on top of the decorations.  Then added the frame on top of the decorations with tape.  The Summer Lovin’ I cut out of the paper pad and added a frame around it and popped it on top of the acetate.  Lastly I used powder on the paper and on the acetate so the sequins will not stick.  Then added doubled sided thick tape -used the powder on the inside of tape -added the sequins- and added  the frame.

********


Beach card A2 card


Beach cardA2 size card 

Background paper 4 1/8” x 5 3/8”Next layer 4” x 5 1/4  I used the Summer Lovin’ paper and used gingersnap at the bottom.  I hand tore the top of the paper to make it look like sand and added marker dots for texture.  Using my stitched rectangle dies around the word beach I cut a frame. Filled in around the word beach with the purple cord ribbon and added a bow.  Then add my decorations.  Inside this card I left blank for writing. 

********


Summer Card A2 size card 


1-Background paper measures 4 1/4” x 5 1/2”
1- Layering piece 4 x 5 1/4”
To make the netting on the buoys I used the lattice background die and inked it up wit gingersnap, twig and chocolate and of course the 3’d ink pen sparkly one. 
I used  glue dots & glue to hold it down. 
I  piece of gingersnap c/s about 1 1/2” x 5 1/4” and hand tore it all the way across to make it look like sand  and also hand cut a piece of sea glass c/s to make it look like the ocean.  The top of the powdered sure c/s I used the cloud stencil with sky ink to make the sky and the layered the ocean and sand at the bottom.  I used glue but u can use whatever you want to.  I used the palm tree from the island2visit and embossed it with the 3 ‘d ink pen.  Used the sandcastle from the paper pad along with the pail anc starfish.  The castle I used the majestic stencil with chocolate ink.  

********

Summer castles A2 card


The background paper is blueberry c/s & measures 4 1/4” x 5 1/2”. 
The powdered sugar c/s is 4 1/8” x 5 3/8”
I layered the whole scene on top of the Powdered sugar c/s.
The sand castles, starfish, & pail I cut out from the paper pad.  The buoys I drew them on gingersnap paper and inked the paper. We’d it with twine and inked the twine.  Cute some of the paper from leftover lattice from the card above and scrunched it up and glue doted it down.  Added 3’d ink pen with powdered sugar in the water to make it look like foam. And added a sail boat.  Super fun and easy card. 

I hope you all enjoyed these cards I know I had so much fun making them for you to enjoy.  If you have any questions please ask.  I check back often  

To see Dania’s Doodles Instagram video for the Summer Lovin’ cards you can see it here:thihttps://www.instagram.com/p/CRXPQV_pCBo/?utm_medium=copy_link

Monday, June 21, 2021

5 cards using the June 2021 Stamps of Life “You Got This” Card Kit

 Good Morning Everyone!

Our DT’s here at The Stamps of Life have been making some really cute cards using the June card kit that came out on June 15, 2021. Some of the DT’s will be posting videos on YouTube/Instagram and or posting cards with info of how they were made on their blogs.  Be sure check them all out.  I will be posting here “what I used” to make these cards.  I will be posting pictures of all 5 cards I made and if you have any questions please ask.  So let’s get going with the cards. Everything I used is from The Stamps of Life Card Kit which is a monthly club you are able to join.  The 1st of each month TSOL comes out with a NEW Stamp and Die set which is also a club set.  Go on over to the TSOL website and check them out.  www.thestampsoflife.com


A2 card 4 1/4” x 5 1/2”  layering piece is largest scalloped rectangle die. Frame is the next 2 below the largest.The white frame is #5 stitched rectangle.

Here is what I used to make this card:

Everything I used to make this card is in the card kit along with the except the  TSOL scalloped rectangles and the stitched rectangles.  I use them together to make a frame.  The card stock and pattered paper comes with the kit.  The border stamp on the scalloped edge rectangle is called the  “quick2border”stamp set by TSOL.  Use whatever paper you want and it will be super cute.

A2 size card 4 1/4” x 5 1/2”  

Layers largest scalloped rectangle die- the 6th & 7th stitched rectangle dies. The patterned paper is from 

the paper pad and I used the 6th stitched rectangle die for the cookie but you use 

whichever paper you want 


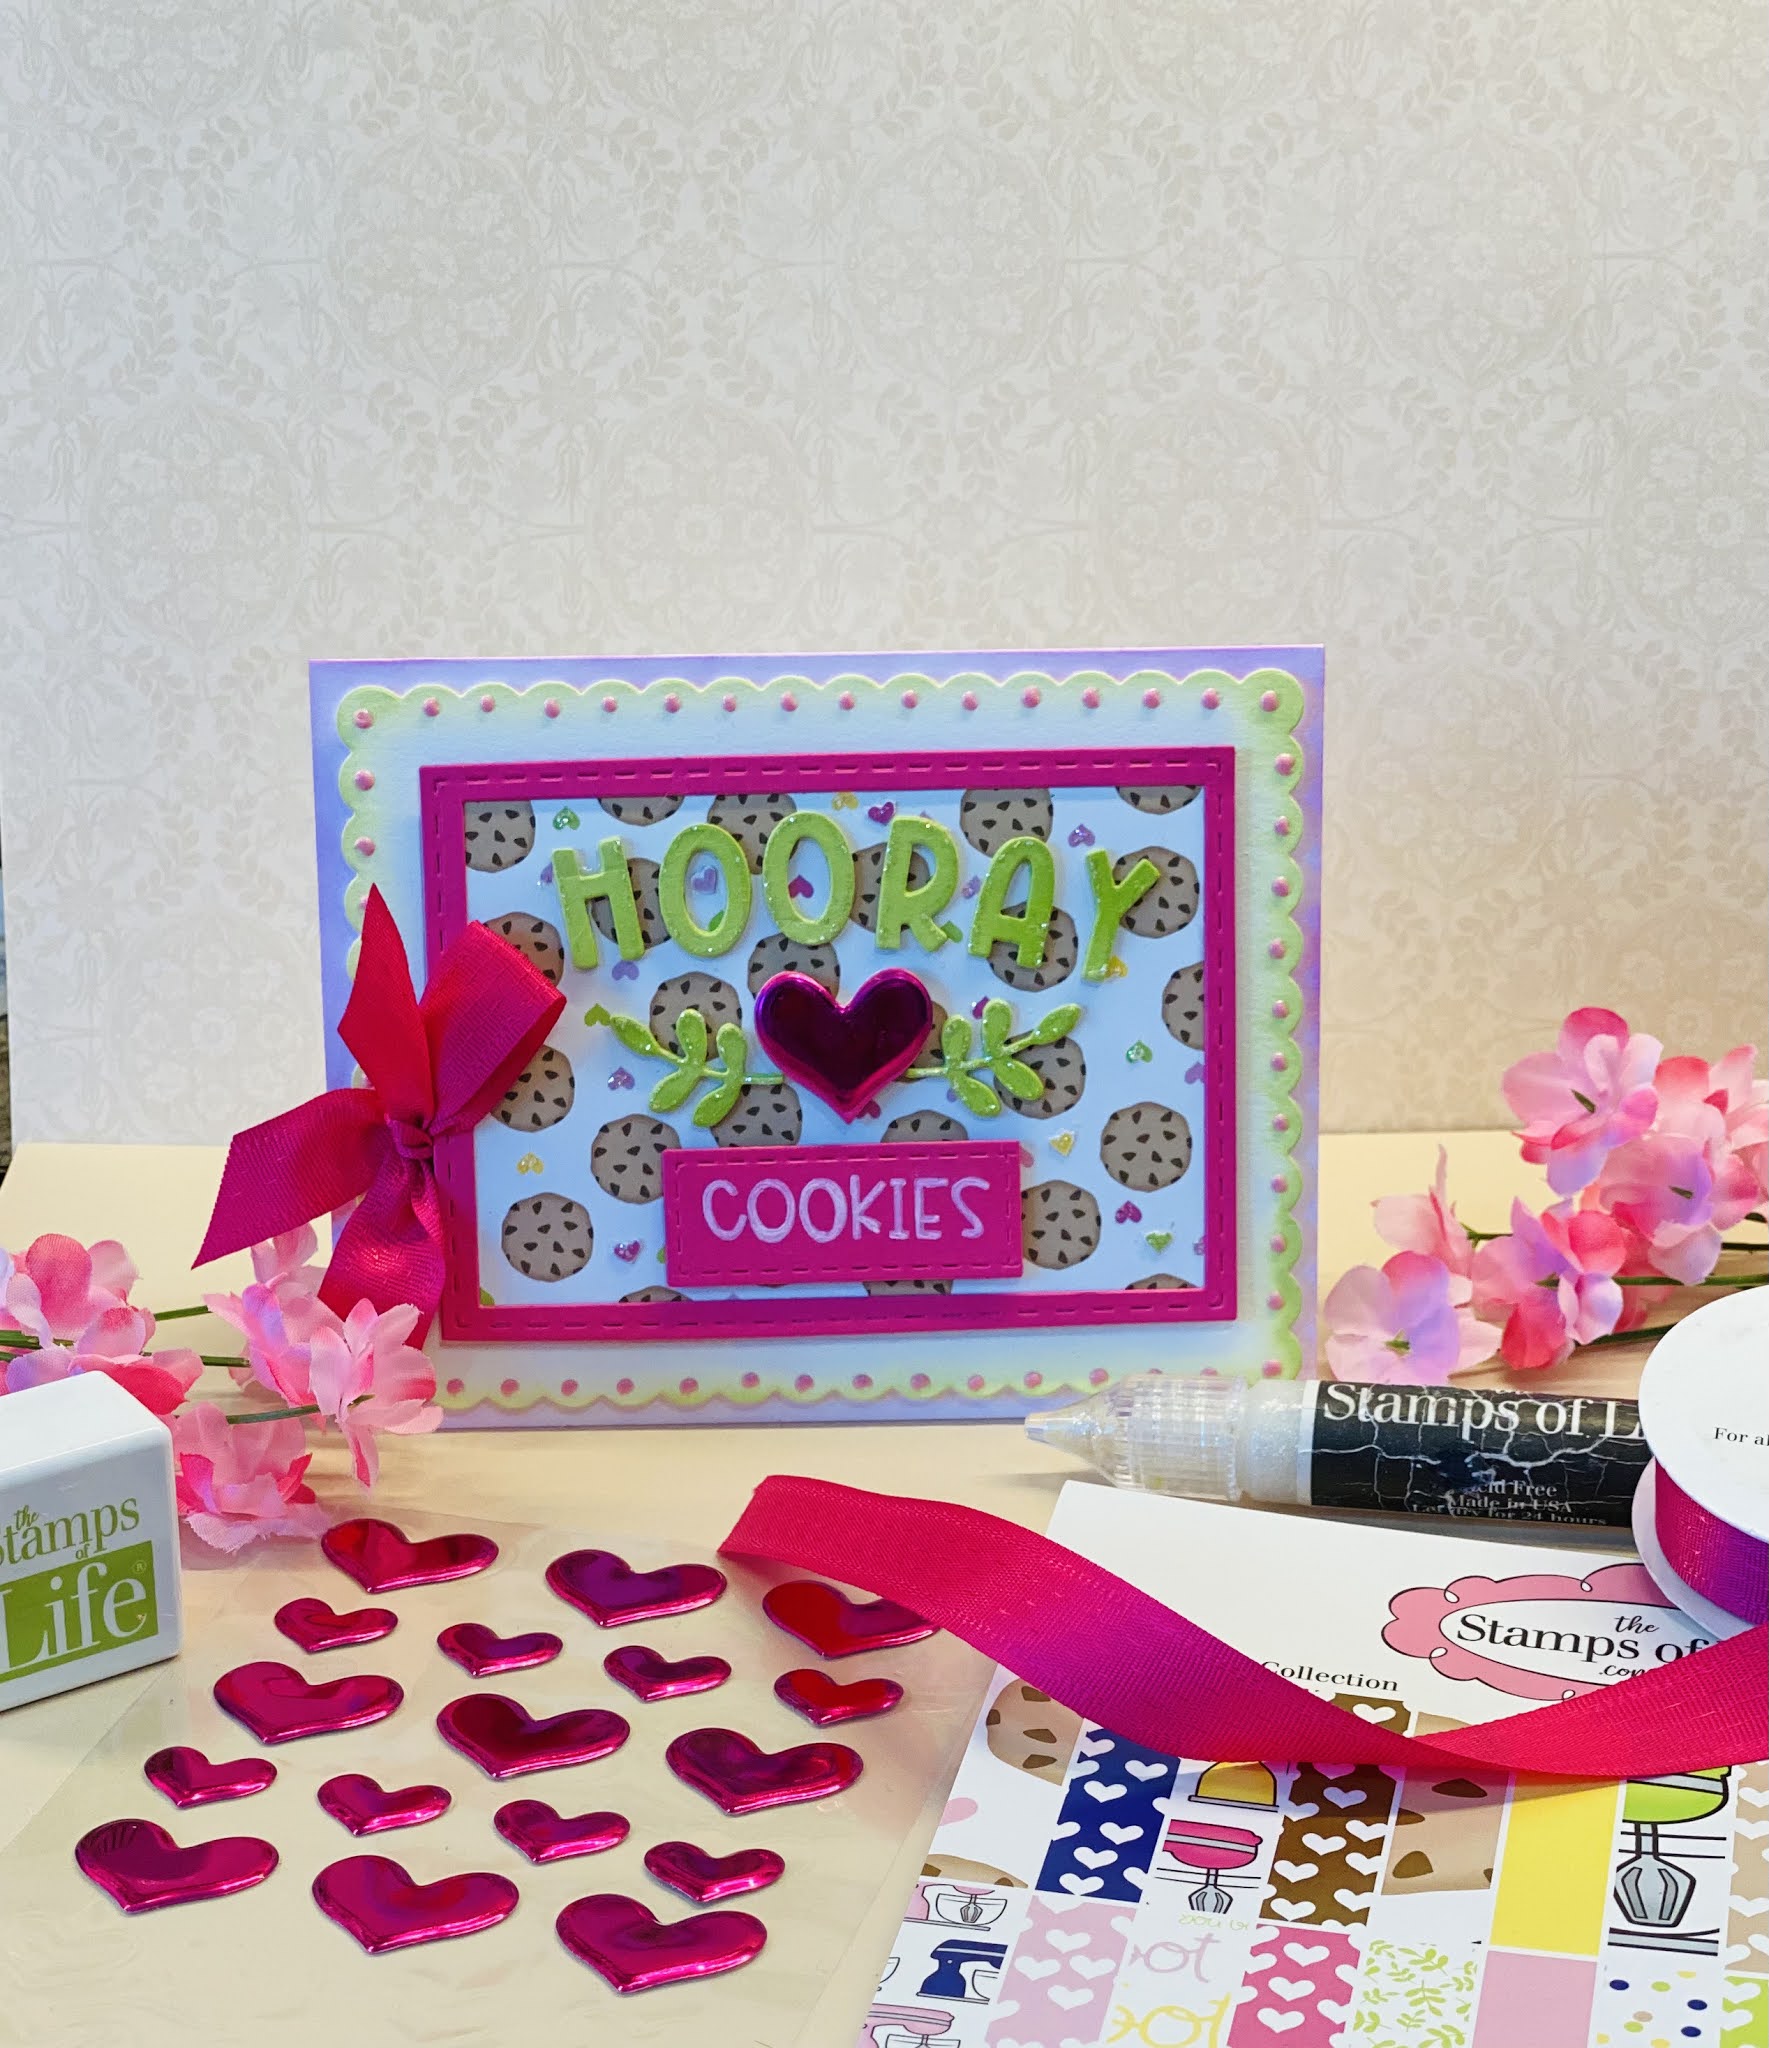
This card I called the Hooray love cookies card.  I also used some of the stamps from the monthly Stamp and die club sets.  The CUTE Cookie paper is in the 6x6 pattern paper that comes with the kit.  I also used the scalloped border dies from TSOL and the 3’d gel pens on the edges…tip when using the gel pens make sure to let them dry for at least 6-8 hrs it keep there shape.  Again I used the stitched rectangles and scalloped rectangles together.  Pretty easy card. 
*******

This is an A2 size card. The frames is made using the stitched rectangles dies #8 & #9 (the 2 largest dies cut together makes the frame. I cut 4 of the scalloped boarders and put it around the inside of the frame.   Use the #8 die from the patterned paper “you got this” for the larger cookies.  Use whatever paper u want.  Then I hand cut out all the cookies and used dimensional tape to make it stand up (the hearts on the cookie paper). The ribbon is in the card kit.  I used 3’d gel pens to make the dots on the scallops and I put the 3’d sparkly pen on the bow. 


********

This card was pretty simple.  Using another piece of the patterned paper I colored the frame using the mini ink pads.  Cut out some of the cookies and hearts popped them up and then used the 3 ‘d gel pen for dimension and little dots to make the back ground pop.  Again I used the scalloped edge die to outline the edge of the frame.  If you don’t have the die you can use whatever you already have or outline it with a marker.  I wrapped the ribbon around the back of the frame and tied a bow in the front then used the 3’d gel pen to make it shine.  The sentiment is in the Cookie2stamps club set.  

A2 size card 4 1/4” x 5 1/2”  layering piece (bubblegum)  is 3 3/4”  x 5 1/2”.  

1- 3 3/4” x 5 3/8” quava c/s

2= 11/16” x 5 3/8” pink hearts 

1-2 1/8” x 4 5/“ white c/s

2- scalloped boarder dies (yellow c/s)

Ribbon from TSOL

Use any greeting you have to go across the top  


This card I called the mixer card.  This card I used the patterned paper and cardstock  again in the kit.  I die cut the mixer out of the patterned paper  and used the cookie paper again  I jus layer the papers and popped each layer up with dimensions but if you don’t want to pop it up you don’t have to.  It will look cute either way.  The saying is in the kit but I did use a banner die for the saying.  And I framed it to the banner die then stamped it so the curve would be inside the frame.  Again I used the ribbon from the kit  and the 3’d gel pens.  Love this card  

Here are the measure or this card:  This is an A2 size card and I added a piece  of heart pattern paper to the top of  white 4” x 5 1/4” .  Then I added a piece of pattern paper 1 1/4” x 4” & glued them together   Made a straight edge board and used a die for the bottom edge then added the words that came in the card kit  

To decorate the top I used the circle dies and the large cookie die from the card kit   Used whatever size circle you want from the circle dies   


Again I used everything from the card kit but also from the Cookies2stamp set and dies   As you probably have noticed about the clubs -the club set match with each other.   So the Stamp and die club go with the Card Kit club.  So everything you get with these club set you can use with everything   I LOVE that.  This card I used the “you got this” dies from this set. I also used another TSOL die to make a border that I had in my stash.  But use whatever you have on hand.  You could even cut a piece of patterned paper to put across it   I hand cut some of the mixers from the patterned paper and add them to the striped paper and added a bow   Everything was from the kit   You will be able to make more than 10 cards with this kit and all you need is a die cutting machine, scissors and tape.   Everything else is in the kit.   Hope you enjoyed these cards.  Thanks for joining me.  Please leave a comment …I Love to read them.

Enjoy 

Cheryl πŸ’•

*** on the paper sizes…my cards are A2 (4 1/4” x 5 1/2”) unless otherwise noted.   Layering piece for the A2 size cards are usually 4” x 5 1/4.  If using a square, rectangle, & circle, die(which includes scalloped edge of any of these) I use whatever one I thinks looks good on the card   Sometimes I choose the one right next to it in size and other times I make it larger but skipping one or two or even 3   You can usually tell buy looking at the photo.  I usually ALWAYS use foam tape on frames or on the items for dimensions. If you have any questions …please ask me…I am always willing to tell you if you need help.  πŸ’•


Hi Everyone, Here is the New Stamps of Life Floral Treat Box Dies. Super Easy to make  & you can use the dies that come in this set or s...